What is a Tag?
Tags allow users to browse through segmented content on the application. Users are able to filter content by their favourite artists, genres, sponsors, map (points of interest), as well as providing the option to show stages and filter them per capacity.
See below a few examples from our customers who are making the best use out of tags in their applications:
Example 1= Tags on artist overview: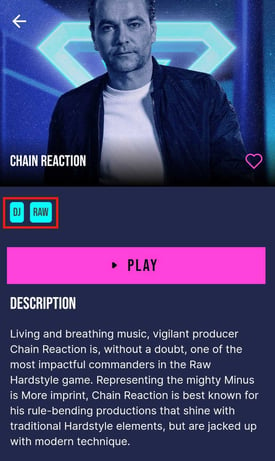
Example 2 = Tags on interactive map (points of interest):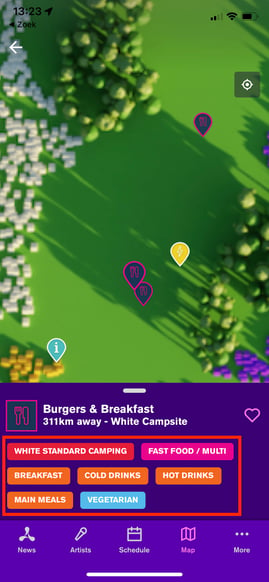
Example 3 = Tags on stages overview: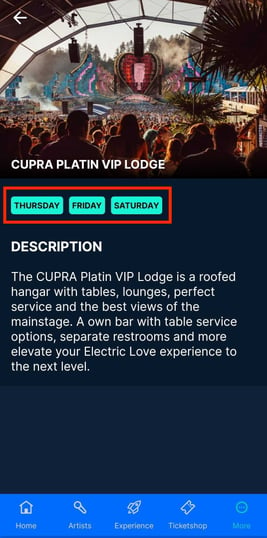
Example 4 = Search cloud for diverse tags: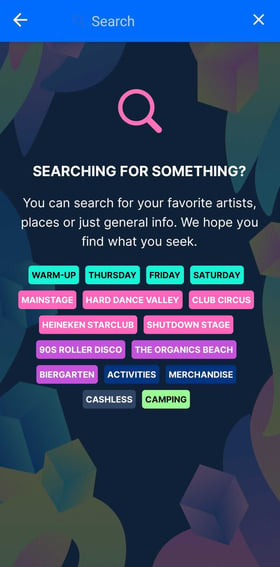
Below we present you with a step-by-step guide on how to implement tags on your CMS.
How to create a new tag in your app
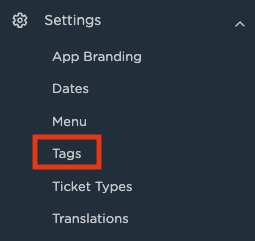
Step 1 = Click on settings and then tags on the left side menu.
Step 2 = Click on + Add New to create a new tag.
Step 3 = Select the Tag Type you want to create: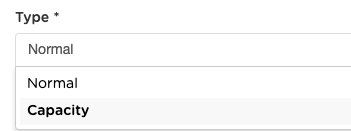
Normal: This tag type is used to create any tags related to artists, performances, genres, etc.
Capacity: This tag type is used to indicate the capacity of each stage at your venue.
Step 4 = Create a unique slug for your tag. A slug is a unique identifier for a tag. A slug can only contain alphanumeric characters, a-z, 0-9 and -.
💡 Please double-check as once a slug has been set it can not be changed later!
Step 5 = Provide a name and priority for your new tag.
💡 The lower the number of priority the higher content is shown on the list.
Step 6 = Add a HEX code to customise the colours of your new tag and the text inside the tag.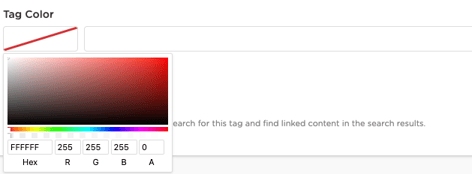
Step 7 = Check the Filter box to determine whether or not the user can search for this tag and find linked content in the search results.![]()
Step 8 = Check the Visible box to determine whether or not this tag is visible to the user.![]()
Step 9 = Click on Create and your new tag is complete!
Final Step = Now use your imagination and create different tags for your artists, stages, performances and pages in order to make content filterable for the user.
Apply = After creating tags you can add them to different pages of your CMS, such as:
1. Cards
2. Artists
3. Stages
4. Sponsors
5. Albums
6. Music & Playlists
7. Maps