Here's how you can easily use our table functionality to align your text throughout the application. A good example is adding pricelists on the Food POI in your interactive map.

How does it work?
To begin creating your table, just click on the table icon. You can then choose various properties to customize its set-up. No need to worry, you can always modify the properties later by right-clicking the table. Below, we'll cover the most crucial functions.
Table width
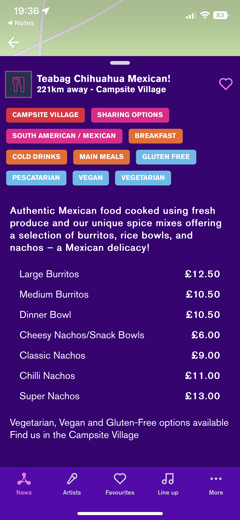
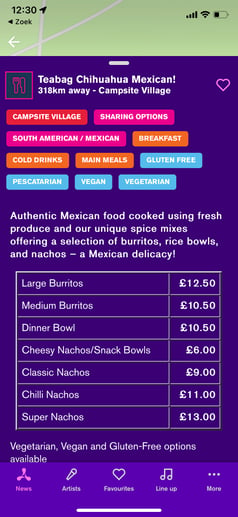
When creating your table, you have the option to choose the width of the table by selecting the number of pixels or a percentage. If you choose to use pixels, the table's width will be the same for all devices and may require scrolling to the right if it doesn't fit the screen. If you choose a percentage, the table's width will always cover a certain percentage of your screen.
Borders
To add borders to your table, simply select your preferred border size. If you prefer invisible borders, you can use "0" as the border size.
See the examples below for clarification.
Headers
You can add a header to each table and choose the placement option for it, such as in the first row or first column. Additionally, you can select the alignment option to position the table on your screen.